In March 2017, Saskia and I were getting home just before dark. It was starting to rain and we hustled into the house. We had been in for only a few minutes when the wind started howling. With the aid of the outside lights, we could see the trees blowing wildly. It continued for a while and then everything went dark. I was downstairs lighting candles and Saskia was upstairs getting ready to do the same thing when we heard a loud crash. Saskia yelled at me to come and see out back. The only way to see what was happening outside was when lightning illuminated the sky. I stood by the window waiting for a lightning flash, and when it did I saw the tree down. It was a red oak, about three feet wide at the base and about seventy feet tall. It was up the hill about twenty feet behind the house. We were so lucky it had fallen away from the house.

Red Oak that fell.
It lay there for a year and we then had it cut for firewood. I took one of the pieces into the garage to let it dry. I was having a crazy idea about using it to make something. It laid around until May of last year when I decided to do something with it. Several possibilities came to mind. One that I was really liking was to make a couple of small hand block planes, but I ended up later making one using other wood. The idea I finally settled on was to make some type of candle holder. But, whatever the end product, I had to start shaping the wood.
I have never tried to take a log and shape it into a finished product so I had to figure out what to do as I was doing it. I must admit that I did take to youtube for videos to help with the process. I knew I would have to start getting the wood to a rectangular shape. I decided to use non-electrical tools as much as possible. So, after making a rough pencil layout, I started with a handsaw to make my cuts. I decided I would clamp the piece to the workbench and try to cut as straight a line as possible. Between the saw and my hand planes, I was getting it close.

Shaping with saw

Smoothing and flattening with the plane

Not quite there.
I was settling on a design in my head of a rectangular shape with holes drilled to hold glass candle holders. I started looking for glass holders and ran into a problem. The smallest ones I could find were too large for my largest bit size. To use them, the width of the hole would be almost the width of the wood piece. At this point my piece was about fifteen inches long, one and one-one-quarter inches tall and around two and one-quarter inches wide. I had bought a two inch Forstner bit locally and to get something larger, I would have to order it. The other thing I did not like about this design was the ends would just be end grain. I thought this would make it look very unfinished.
I was getting close to the point of accepting I would have to buy the larger bit to make this work. But, this meant I would also have to do something with the wood because the diameter of the next size bit, was larger than the width of my piece. I resolved this by deciding to incorporate a piece of walnut I had laying around the garage into the candle holder. But first I still had work to do on the piece of oak.
This piece developed over a long period of time, so I was able to continue my search for glass holders. I did finally get lucky and found four glass holders in a local thrift shop. They were the perfect size to work with the bit I had. This was going to simplify things very nicely.
I continued to shape the oak with my plane but could never get it just right, quite perfect. I gave in and did a couple of adjustment cuts using the table saw. That made it close enough to use.

Wood fitted together
I had decided to take the walnut which was three-quarters thick and cut it the thickness of the oak. I took the oak and cut it in half on the table saw. I sized the walnut on the saw as well. I then decided to use the walnut to make pieces for the end so it would look more finished, I cut a piece the width of the oak and walnut together, Then I made a recess so the end of the rectangle would both fit against the side of the piece, as-well-as rest on it. This created legs for the holder. With this done I glued and clamped the oak and walnut. After it dried I glued and clamped the legs to the end. Before I glued the legs, I drilled four, two-inch holes in the top of the oak/walnut rectangle.

Side view
This brought me to the point of finishing the piece. Before joining the pieces I had sanded them with one-hundred grit paper. I continued this after they were joined. Also, I had to trim the legs to the width of the rectangle as they were a little wide. I did this with an Irwin Marple Double Edge Pull Saw. I continued sanding, increasing the grit of the paper until I reached eight-hundred grit. It was pretty smooth.
All along I had been thinking about how to finish the piece. I finally decided to use boiled linseed oil. It is natural and safe. I considered putting a polyurethane finish as a protective coat but decide it would not need it. I ended up using three coats of the boiled linseed oil. They darken the wood slightly while bringing out the grain. I was happy with the end results. But, most of all I know every time I look at this piece I will remember the storm and the tree falling.

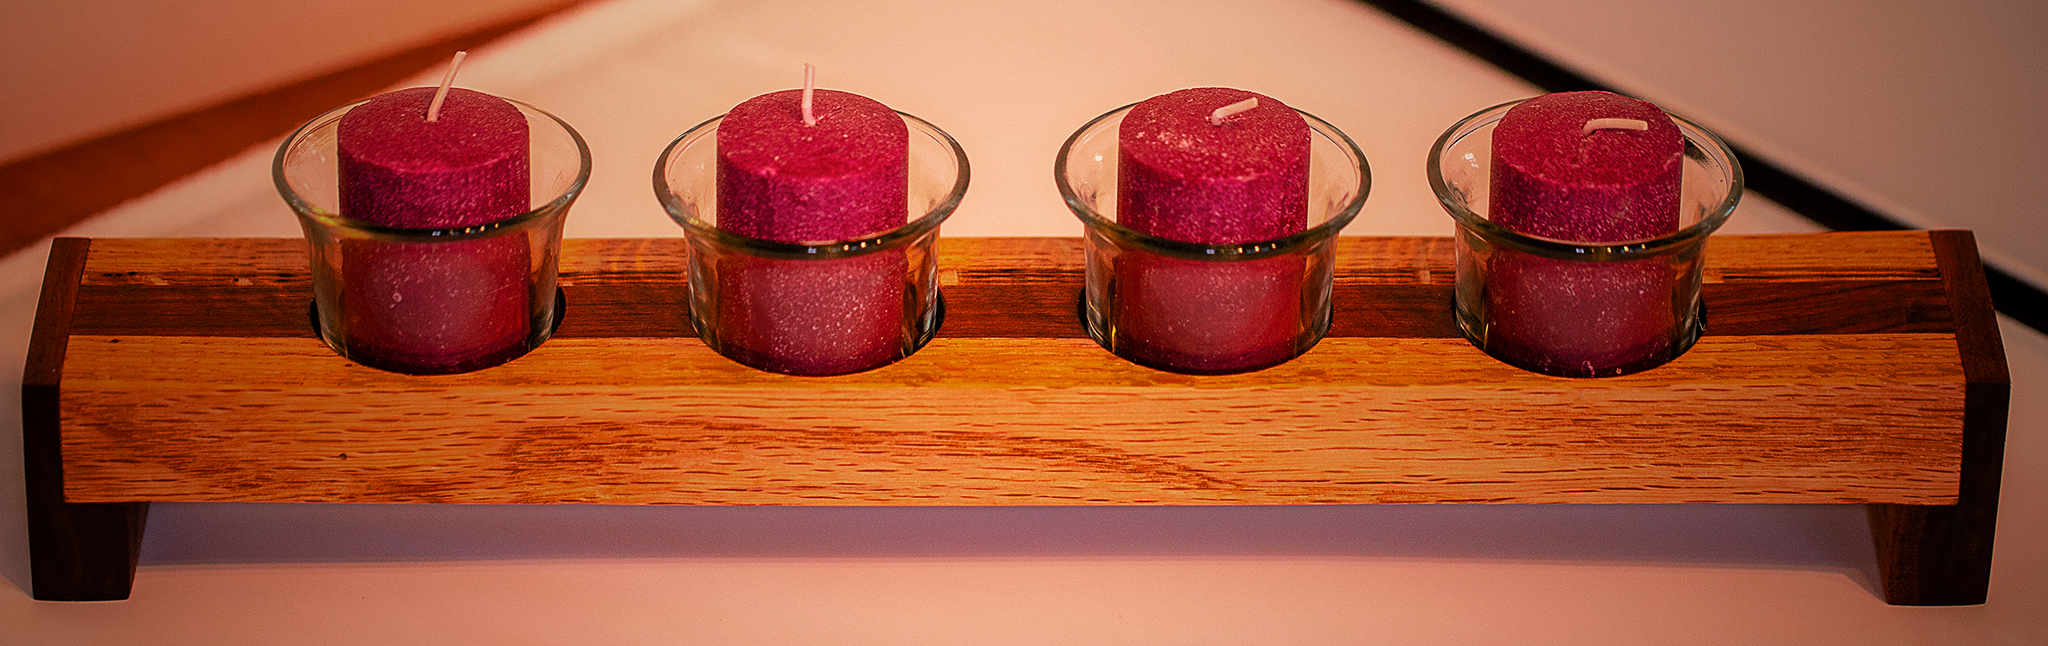
I found the perfect glass holders.
This circle of earth, tree, candle holder and I, help me to remember the interconnectedness the Buddha taught. Everything I see and touch has a history and that history chain produced the form, no matter what the form is, that I see and interact with today. My connection to the earth is vital to my existence and in the larger picture, our connection to the earth is vital to our existence. I only hope enough of us awake to the fact that if we do not maintain a balance with our environment we will ultimately lose. I will probably not live to see it but my children and grandchildren will. It is for them I pray.
Namaste and I wish you all well.
Beautiful work, don’t worry about some imperfection that only exist in your eyes, that is art and it stands on its own!
Thanks Ken, good to hear from you. For me, the good news was that I did not quit because it was not perfect. Progress.
This is magnificent 💫💜
Thank you, Osa. Miss you.